
How to Generate an SSL Certificate: OpenSSL Step-by-Step Guide (Self-Signed & CSR)
Every SSL/TLS certificate starts the same way: a private key and a request. Whether you’re standing up a local dev server, testing mTLS between two internal services, or requesting a certificate from a public CA, the underlying OpenSSL commands are the same handful of building blocks.
This guide walks through all of them — from the fastest one-liner to a proper CSR with Subject Alternative Names.
TL;DR: the fastest way to generate a certificate
If you just need a working certificate right now, for local development or an internal test environment:
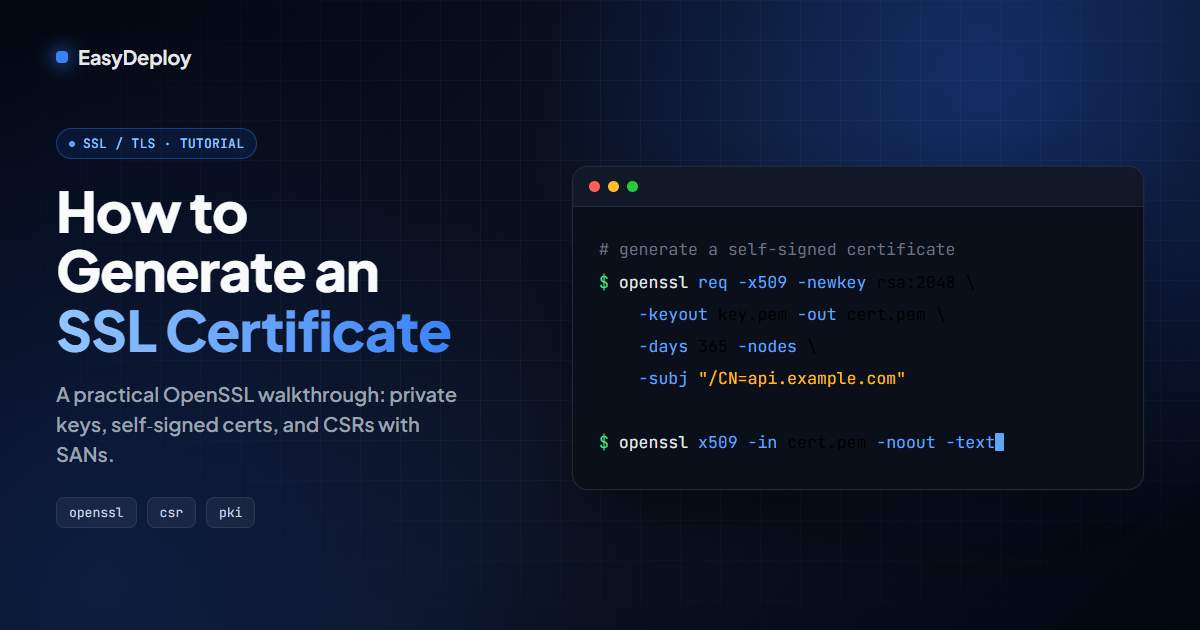
openssl req -x509 -newkey rsa:2048 -keyout key.pem -out cert.pem -days 365 -nodes -subj "/CN=api.auth-test.pl"That single command generates a 2048-bit RSA private key (key.pem) and a self-signed certificate (cert.pem) valid for 365 days, with no passphrase (-nodes). Good enough to get curl -k or a browser “proceed anyway” to work. Not good enough for anything a browser or a strict TLS client needs to trust automatically — for that, keep reading.
What you actually need before you start
- OpenSSL installed (
openssl version— it ships by default on macOS and most Linux distributions; on Windows, install via Git Bash or WSL). - A hostname or IP the certificate will actually be served from. In every example below we’ll use
api.auth-test.pl— swap it for your own domain or internal service name. - Clarity on which of two things you’re building: a self-signed certificate (you are your own trust anchor — fine for internal/dev use) or a CSR to be signed by a Certificate Authority, public or private (needed for anything a client outside your control has to trust).
Step 1: Generate a private key
Everything downstream depends on this key, so treat it like a secret — because it is one.
openssl genrsa -out key.pem 20482048-bit RSA is the safe default. If you want smaller, faster keys and don’t need compatibility with very old clients, an EC key is a solid alternative:
openssl ecparam -genkey -name prime256v1 -out key.pemStep 2: Generate a self-signed certificate
With a key in hand, you can self-sign a certificate directly from it:
openssl req -new -x509 -key key.pem -out cert.pem -days 365 -subj "/CN=api.auth-test.pl"This is the right tool for local development, internal test environments, and service-to-service mTLS where both sides are under your control and you can distribute the CA/cert yourself. It is not the right tool for anything a browser or an external client needs to trust without a manual override — self-signed certificates aren’t backed by a trust chain any client recognizes out of the box.
Step 3: Generate a CSR to get a certificate signed by a CA
If the certificate needs to be trusted by something you don’t control — a public website, a partner’s client, an app store — you need a Certificate Signing Request (CSR) instead of a self-signed cert. You generate the CSR and the private key stays with you; only the CSR goes to the CA.
openssl req -new -key key.pem -out request.csr -subj "/CN=api.auth-test.pl"The CSR contains your public key and the identity you’re requesting a certificate for. Send request.csr to your CA — a public one (Let’s Encrypt, DigiCert, etc.) or your organization’s internal/private CA — and they return a signed cert.pem. Nothing about your private key ever leaves your machine.
Step 4: Add Subject Alternative Names (SANs)
Since Chrome 58 (2017), browsers ignore the Common Name field entirely for hostname validation and require a matching Subject Alternative Name instead. A certificate with only a CN and no SAN will fail validation in every modern browser — this is the single most common reason a “working” OpenSSL command produces a certificate nobody actually trusts.
-subj alone can’t set a SAN, so you need a small config file:
cat > san.cnf << 'EOF'
[req]
distinguished_name = req_distinguished_name
x509_extensions = v3_req
prompt = no

[req_distinguished_name]
CN = api.auth-test.pl

[v3_req]
subjectAltName = @alt_names

[alt_names]
DNS.1 = api.auth-test.pl
DNS.2 = *.auth-test.pl
EOF

openssl req -x509 -newkey rsa:2048 -keyout key.pem -out cert.pem -days 365 -nodes -config san.cnf
The same [v3_req] / [alt_names] blocks apply if you’re generating a CSR instead of a self-signed cert — just swap the last command for the CSR one from Step 3 and pass -config san.cnf there too.
Step 5: Verify what you actually generated
Before you wire a certificate into anything, check it did what you expect:
# Full human-readable dump
openssl x509 -in cert.pem -noout -text

# Just the validity window
openssl x509 -in cert.pem -noout -dates

# Subject, issuer, and SANs at a glance
openssl x509 -in cert.pem -noout -subject -issuer -ext subjectAltName
If subjectAltName is missing from that last command’s output, go back to Step 4 — that certificate will be rejected by any modern browser or strict TLS client.
Common mistakes
- No SAN, only CN. Covered above — it’s the most common cause of a certificate that generates cleanly but doesn’t actually work.
- 1024-bit RSA keys. Deprecated for years; most modern tooling won’t even accept them.
- Private keys committed to git.
key.pemshould never leave the machine or vault it was generated on. Add*.pemand*.keyto.gitignorebefore you generate anything. - No expiry tracking. A self-signed or internal-CA certificate expires exactly like a public one does — the difference is nobody’s ACME client or CA dashboard is going to warn you. More on that below.
Generating one certificate is easy. Managing hundreds isn’t.
Everything above takes about thirty seconds once you’ve done it a few times. The actual cost shows up later: which service is using which certificate, which environment it’s in, and how many days it has left — multiplied across every internal service, every environment, and every private CA you’ve stood up.
That’s the exact gap Certifier is built to close. The same generate → deliver → monitor flow from this guide is available as one click in the UI — a certificate shows up on the list immediately, your CI/CD pipeline can pull it automatically, and Certifier tracks the expiry so it’s not a 3 a.m. surprise.
Frequently asked questions
What's the fastest way to generate an SSL certificate with OpenSSL?
Run openssl req -x509 -newkey rsa:2048 -keyout key.pem -out cert.pem -days 365 -nodes -subj "/CN=yourdomain.com" — it creates a private key and a self-signed certificate in a single command. That's good enough for local development or an internal test environment, but it won't be trusted automatically by browsers or strict TLS clients without a Subject Alternative Name.
What's the difference between a self-signed certificate and a CSR?
A self-signed certificate is signed with its own private key — you're your own trust anchor, which works fine for local or internal use. A CSR (Certificate Signing Request) is sent to a Certificate Authority, public or private, which signs it and returns a certificate that outside clients will actually trust.
Why does my certificate fail validation even though OpenSSL generated it without errors?
The most common cause is a missing Subject Alternative Name (SAN). Since Chrome 58, browsers ignore the Common Name field for hostname validation and require a matching SAN entry instead — a certificate with only a CN will be rejected by every modern browser.
How do I add a Subject Alternative Name (SAN) with OpenSSL?
The -subj flag alone can't set a SAN. You need a small config file with [req_distinguished_name], [v3_req], and [alt_names] sections listing your DNS entries, then pass it to openssl req with -config san.cnf.
How do I verify a certificate was generated correctly?
Run openssl x509 -in cert.pem -noout -text for a full dump, -dates for the validity window, or -subject -issuer -ext subjectAltName to confirm the SAN is present. If subjectAltName is missing from that output, the certificate will be rejected by modern browsers and TLS clients.
Should a private key generated with OpenSSL ever be committed to git?
No. A private key should never leave the machine or vault it was generated on — add *.pem and *.key to .gitignore before you generate anything.
Related articles
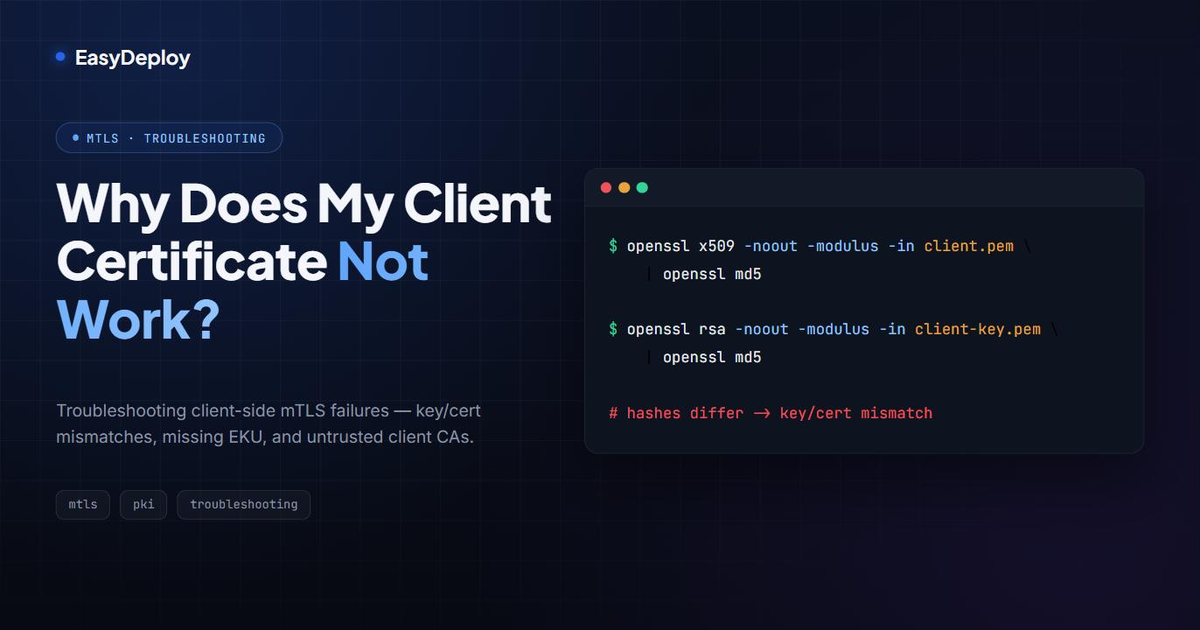
Why Does My Client Certificate Not Work? Troubleshooting mTLS Client-Side Failures
A troubleshooting guide for client certificates that fail mTLS authentication — key/cert mismatches, missing Extended Key Usage, untrusted client CAs, and how to debug each one.
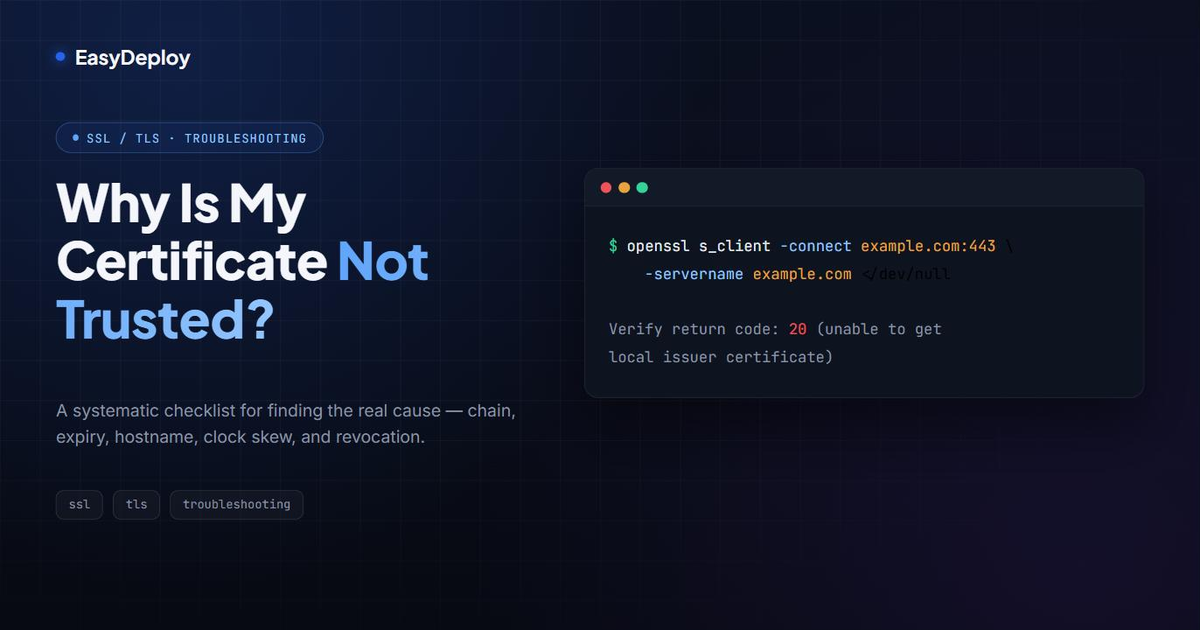
Why Is My Certificate Not Trusted? A Systematic Troubleshooting Checklist
A step-by-step way to find out why a certificate shows as untrusted — chain, expiry, hostname, clock skew, and revocation — with the exact OpenSSL commands to check each one.
SSL/TLS Certificates: the silent foundation of the internet that too often fails
Why SSL/TLS incidents are rarely about cryptography and mostly about management. Cases and takeaways for engineering teams.